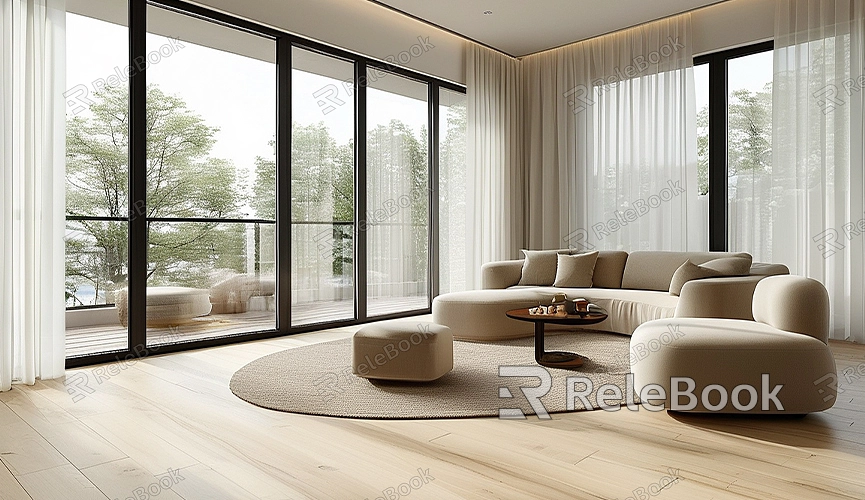
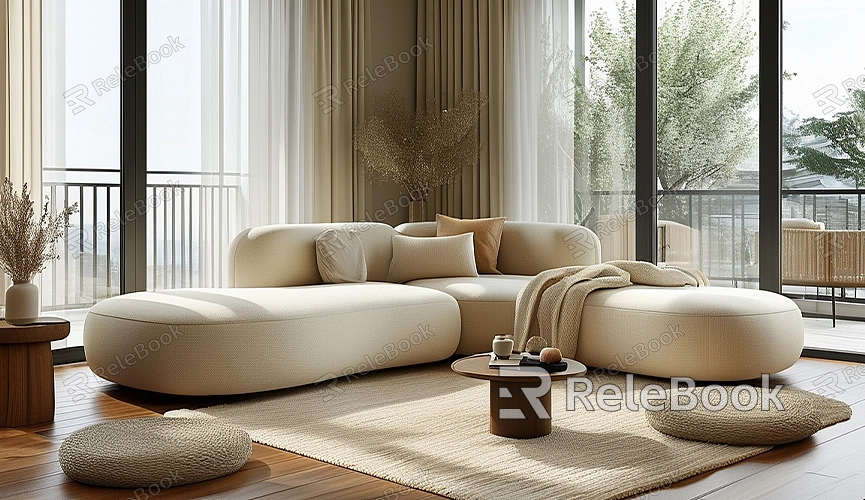
How to render high resolution image blender
Rendering high-resolution images in Blender is a crucial step for enhancing the quality of your 3D work. Whether for film production, game development, or product displays, high-resolution rendering delivers finer and more realistic effects. This guide will walk you through the steps, tips, and optimization suggestions for rendering high-resolution images in Blender.

Why Choose High-Resolution Rendering?
High-resolution rendering provides clearer and more detailed image effects, making finer details more noticeable. This is particularly important for producing high-quality visual effects. For instance, in product displays, high-resolution images can showcase the intricate textures and materials of a product. In film production, high-resolution rendering improves image clarity and enhances visual impact.
Steps for High-Resolution Rendering
1. Open Blender and Prepare the Scene
- Start Blender and either create a new project or load an existing 3D scene. Make sure your models, materials, and lighting are properly set up. Once your scene is prepared, proceed to the specific rendering settings.
2. Choose the Render Engine
- Blender offers two main render engines: Cycles and Eevee. Cycles is a ray-tracing-based engine suitable for high-quality, realistic renders, while Eevee is a real-time rendering engine ideal for quick previews. For high-resolution rendering, Cycles is recommended for better image quality.
- In the “Render Properties” panel, select the Cycles engine, then move on to the next step.
3. Adjust Output Resolution
- In Blender’s “Output Properties” panel, you can set the image resolution. By default, Blender’s resolution is set to 1920x1080 (Full HD). To render high-resolution images, increase the resolution values. For example, set the resolution to 3840x2160 (4K) or higher for more detailed images.

- When adjusting the resolution, you can also set the aspect ratio (such as 4:3, 16:9) to ensure the image meets your needs.
4. Set Sampling Rates
- High-resolution images typically require higher sampling rates for better image quality. In the “Render Properties” panel, locate the “Sampling” settings. Increasing the sampling value improves image clarity but also extends render time. Choose an appropriate sampling rate based on your needs and computing power to balance quality and render speed.
5. Configure Lighting and Materials
- Proper lighting and material settings are crucial for high-resolution image quality. In the “Materials” panel, ensure your models use high-quality materials and textures. Using an HDRI background can provide more natural environmental lighting and reflections.
- In the “Lights” panel, configure the appropriate light intensity and placement to ensure that the details and shadows in the model are clearly visible.
6. Render and Review Results
- After completing all settings, click the “Render” button to generate the high-resolution image. Once rendering is complete, review the image to check the details and quality. If necessary, return to the settings to make further adjustments.
Tips for Enhancing High-Resolution Render Quality
- Use High-Quality Textures: High-resolution images require high-quality textures to match. Ensure your textures have sufficient resolution to avoid blurriness or distortion.
- Optimize Scene Settings: Reduce unnecessary details and complexity to speed up rendering. Adjust materials and lighting settings to match the high-resolution image.
- Post-Processing with Compositor: Blender’s compositor can be used to further enhance render results. Adjust contrast, brightness, or color balance to improve the visual quality of the image.
Using high-quality textures and HDRI images can significantly enhance your render results. If you need high-quality 3D textures and HDRIs for your models and virtual scenes, you can download them for free from [Relebook](https://textures.relebook.com/). For exquisite 3D models, visit [Relebook](https://3dmodels.relebook.com/) to access a wide range of premium resources. These assets will help you achieve better results in high-resolution rendering.
Rendering high-resolution images in Blender significantly improves image detail and quality. By properly setting resolution, sampling rates, lighting, and materials, you can achieve clear and realistic render effects. Utilizing high-quality textures and HDRI resources can further enhance the visual impact of your renders. We hope this guide helps you master high-resolution rendering techniques and elevates the quality of your 3D work. Whether for project displays or other purposes, high-resolution rendering is a key method for improving your work’s quality.

